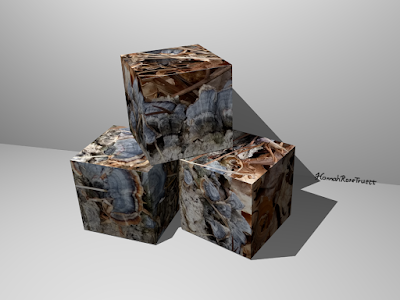
I've been practicing UV mapping in Blender. I worked through some 3D animation tutorials about a decade ago, and then hardly touched the program since. I wanted to make 3D models to preview how boxes I'm designing will look when printed and assembled. It's been useful: I was surprised at how much worse the boxes look when I make the cube's net cross-shaped than when I made it T-shaped. (Note: I was very happy to learn the term "net" for when you unfold a polyhedron.)
Once I understood how to slice the model and arrange the nodes for the UV map, I wanted to get pretty pictures documenting the designs. That's where I hit a brick wall. I didn't understand how lighting works in Blender. After a lot of confusion, I found Wikibooks' Blender 3D: Noob to Pro, which has been a great help when other sources talk about what I can do, but skip a lot of steps in how to do it.
So, I had my textured model and my lights. I was ready to render, right? No, it turns out I didn't have the material set properly on my cubes, so they just rendered as a flat color. A sad, flat color.
I found out what I'd done wrong pretty easily (I was far from the first to make that mistake!), but fixing it proved vexing. I thought I had everything set up like the guides said, but it still didn't work. All I can figure is I must have been clicking around and toggled a setting that kept the other settings from working properly. Since I couldn't find where I'd gone wrong, I went back to square cube one: a new file. Redoing the UV mapping was quick and easy, now that I understand how it works. I carefully followed the instructions for setting up a new material and then roughed in the lighting to test it: BINGO! I had beautifully skinned boxes.
I've learned a lot today. Next I want to re-learn how to do simple animations.

No comments:
Post a Comment